Mastering the Art of Hive Inspections: A Step-by-Step Guide
Keeping your colony healthy
Regular hive inspections are the key to maintaining a strong, healthy bee colony. By checking for signs of disease, monitoring the queen’s productivity, and assessing food stores, you can address potential problems before they become serious threats.
However, conducting an inspection requires skill, patience, and a gentle hand. Whether you’re a new beekeeper or an experienced one looking to refine your technique, this guide will walk you through the process step by step.
Step by step for a healthier colony
Prepare for a Successful Inspection
Before opening your hive, ensure you have the right equipment:
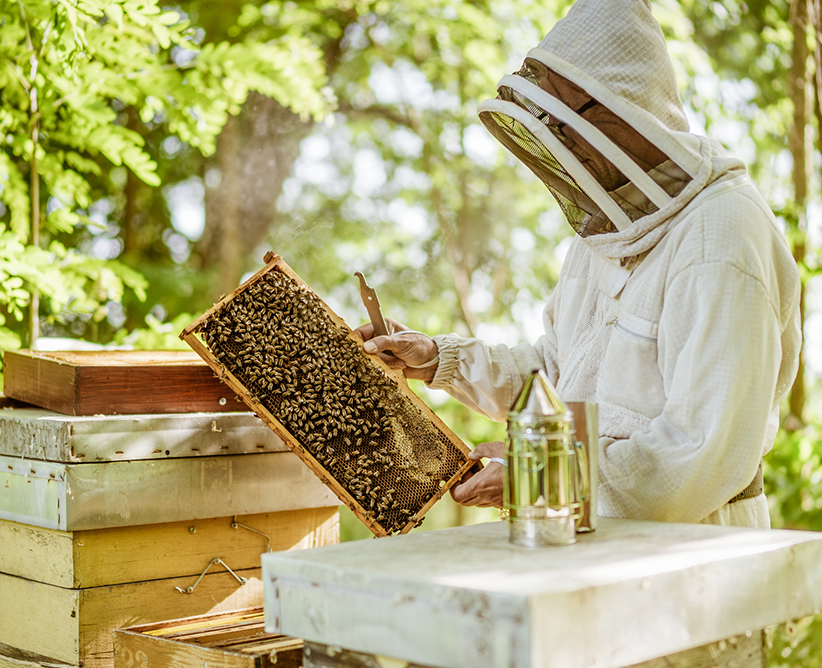
Protective gear – Wear a bee suit, gloves, and a veil to prevent stings.
Smoker and hive tool – A smoker calms the bees, while a hive tool helps pry open frames.
Notebook or app – Record observations to track colony health over time.
Time your hive inspections for a warm, sunny day when most foragers are out gathering nectar. Avoid opening the hive in extreme weather, early morning, or late evening.
Approach the Hive Calmly
Move slowly and avoid sudden movements. Light your smoker and give a few gentle puffs at the entrance and under the lid. Wait a moment before carefully opening the hive—this allows the bees to settle.
Check the Hive’s Overall Condition
As you remove the lid, observe:
Bee activity – Are the bees calm and active? Excessive aggression could indicate a problem.
Signs of pests or disease – Look for small hive beetles, wax moths, or unusual debris.
Hive structure – Ensure the frames are properly aligned and there’s no excessive moisture or mold.
Inspect the Frames with Care
Using your hive tool, gently remove one frame at a time. As you examine them, look for:
The Queen – Spotting the queen isn’t always necessary, but her presence is confirmed if you see fresh eggs.
Brood pattern – Healthy brood should be compact and evenly distributed. A patchy brood could indicate disease or a failing queen.
Food stores – Ensure there is enough honey and pollen to sustain the colony. A lack of stores may require supplemental feeding.
Record Your Findings and Close the Hive
After inspecting 3-5 frames, return them carefully, ensuring the hive remains in order. Gently replace the lid and give one last puff of smoke at the entrance. Note your observations and any actions needed, such as requeening, adding food, or treating for pests.
Conclusion
Hive inspections are an essential part of beekeeping, helping you maintain a thriving colony and prevent problems before they escalate. By staying observant, calm, and consistent in your approach, you’ll gain valuable insights into your bees’ health and become a more confident beekeeper. Happy inspecting!
– Become BQUAL certified –
Proudly display the B-QUAL logo and demonstrate your enterprise is operating in accordance with the industry requirements and expectations of consumers, markets, regulatory authorities and the wider community, in relation to the key issues of food safety and industry best practices.

